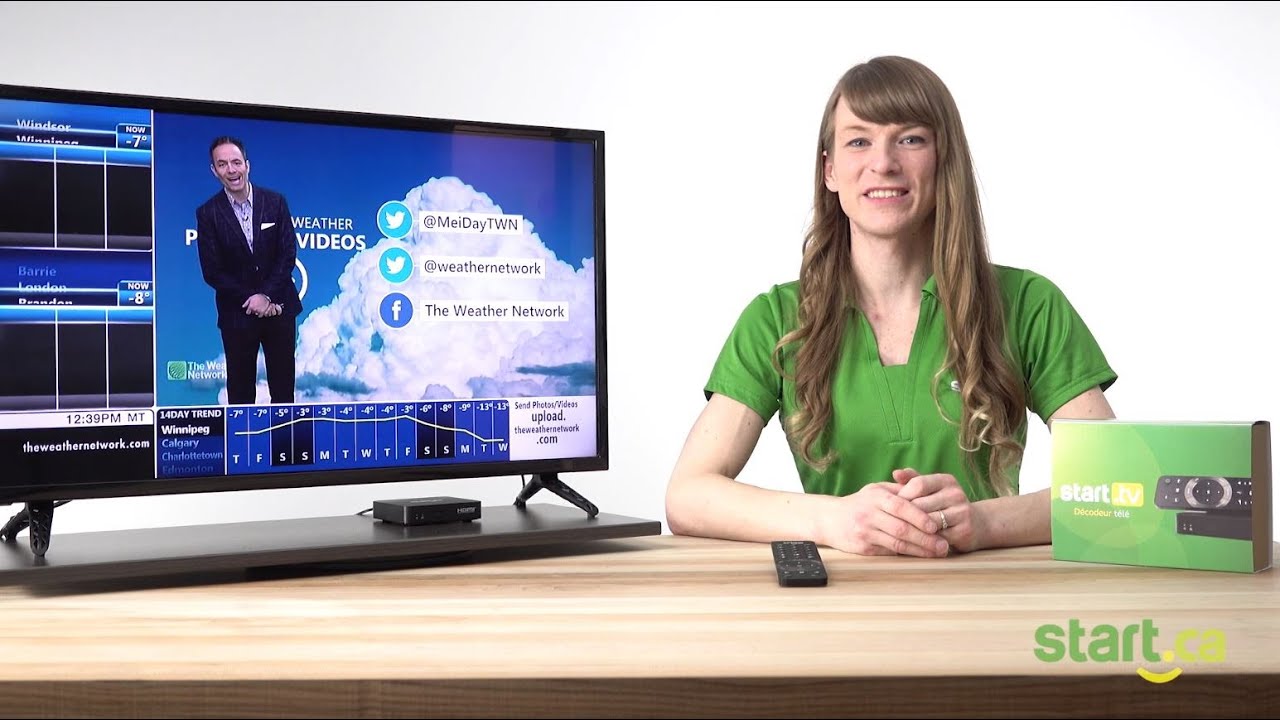
In this video, you’ll learn the basic steps required to get your set-top box (STB) set up. Emilia, from the Start.ca Customer Experience Group, is here to help guide you through the manual setup while providing some helpful tips along the way.
This video features captions and descriptive transcript.
Now that you have plugged in your Start TV set-top box, it is time to turn your box on and complete the manual set up.
Setting up your Set Top Box
Getting started
Welcome to Start TV! To get your set-top box setup, follow the simple steps below:
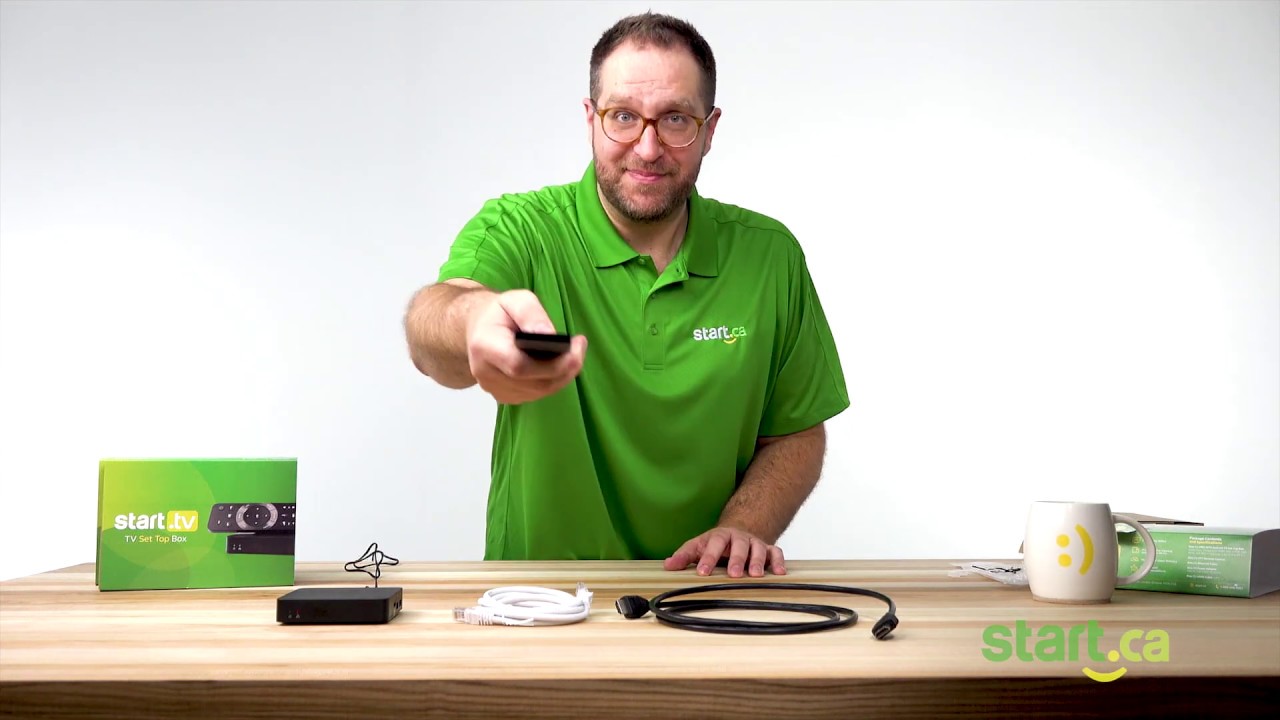
- First things first, turn on your new set-top box by pushing the power button located on the back of the device.
- Once your set-top box is on, you should see the first screen for pairing your remote. Click “OK” on your Start TV remote to start pairing the remote to your set-top box.
- If you wish to use a phone or tablet to continue setting up your set-top box, you may do so at this stage or hit “SKIP” to proceed with the remote.
- Now let’s connect your Start TV to the internet. You can either connect the set-top box directly to your router using an Ethernet cable, or you can connect wirelessly through Wi-Fi. In the drop-down menu, select your Wi-Fi network and enter your password. Once connected, you’re ready for the next step.
- To get Start TV updates and download new apps onto your set-top box, you’re going to want to sign into your Google account at this stage. To make this process faster, you can use a keyboard to enter your email address and password, or skip this step and enter this information later.
- Now, accept Android’s terms and conditions by clicking “YES” and “OK” to proceed.
- At this point, you will be asked if you want to share your location while using the set-top box. Saying “YES” will allow apps that require location information to work on your system. Saying “NO” will not affect your Start TV experience at all. Feel free to say “NO” by using the arrows on your remote and pressing “OK”.
- At this point, a prompt should appear asking “if you want to improve Android’s performance.” Saying “YES” helps Android make improvements to their services by allowing them to collect system and error reports from your device. You can say no to this request by using the arrows to select “NO” and pressing “OK” on your remote.
- Now it is time to name your set-top box. This step is important if you have multiple set-top boxes within your home. It comes in handy if you choose to Chromecast to your set-top box so you don’t accidentally cast to the wrong device. Using the arrows, select “Make custom name” and pick a name for your set-top box. Tip –name your set-top box after the room it is located in for easy access later.
- Your Start TV remote can also control the volume of your TV. To enable this function, scroll through the different types of TV brands and select your TV brand. Your set-top box will ask you to try changing the volume. If it works, select “It works” and move on to the next step. If it does not work the first time, no worries. Try again until it works.
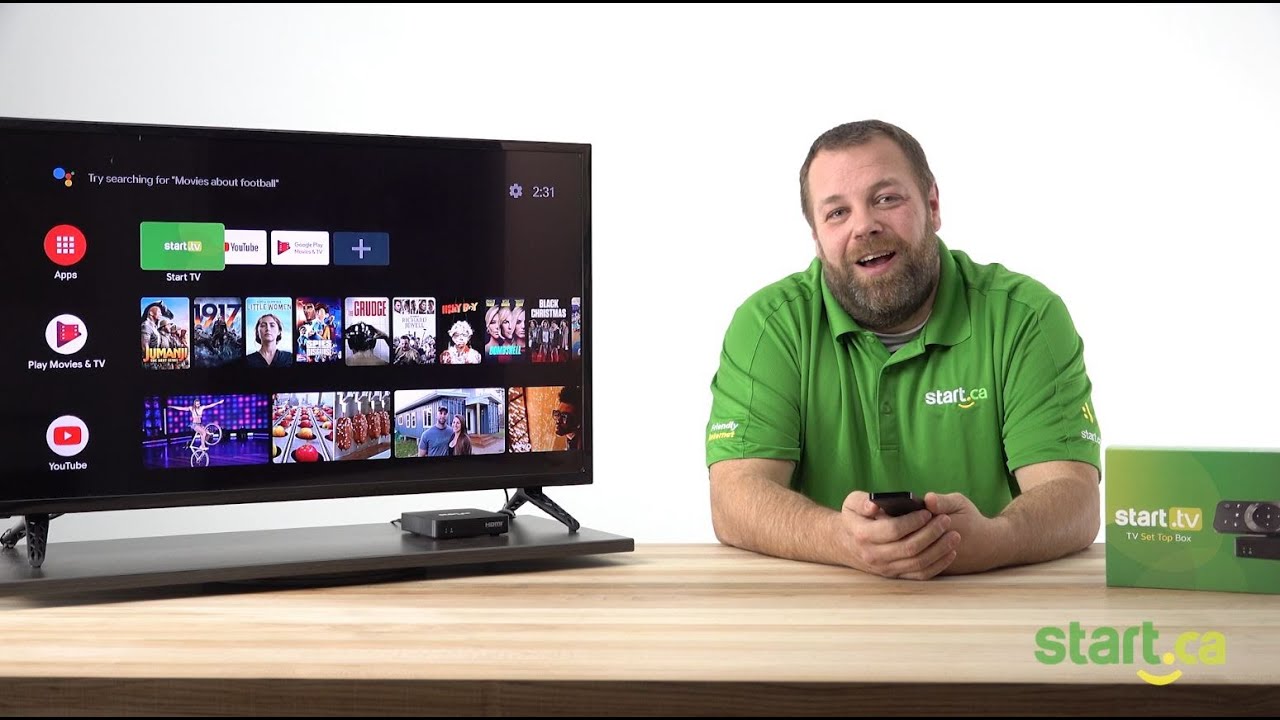
- Here are six quick steps on how to use your new Start TV set-top box. Feel free to take your time going through these to learn more about device navigation. Once through these steps, click “Done”
Set up of your Start TV set-top box is now complete! If you want to learn how to sign in and navigate your way through Start TV, be sure to check out our next video “How to Sign in & Navigate”.
If you run into any trouble, please give us a call at 1 (866) 434-5888 or visit Start.ca. Our friendly Service Desk Agents will be happy to give you a hand.